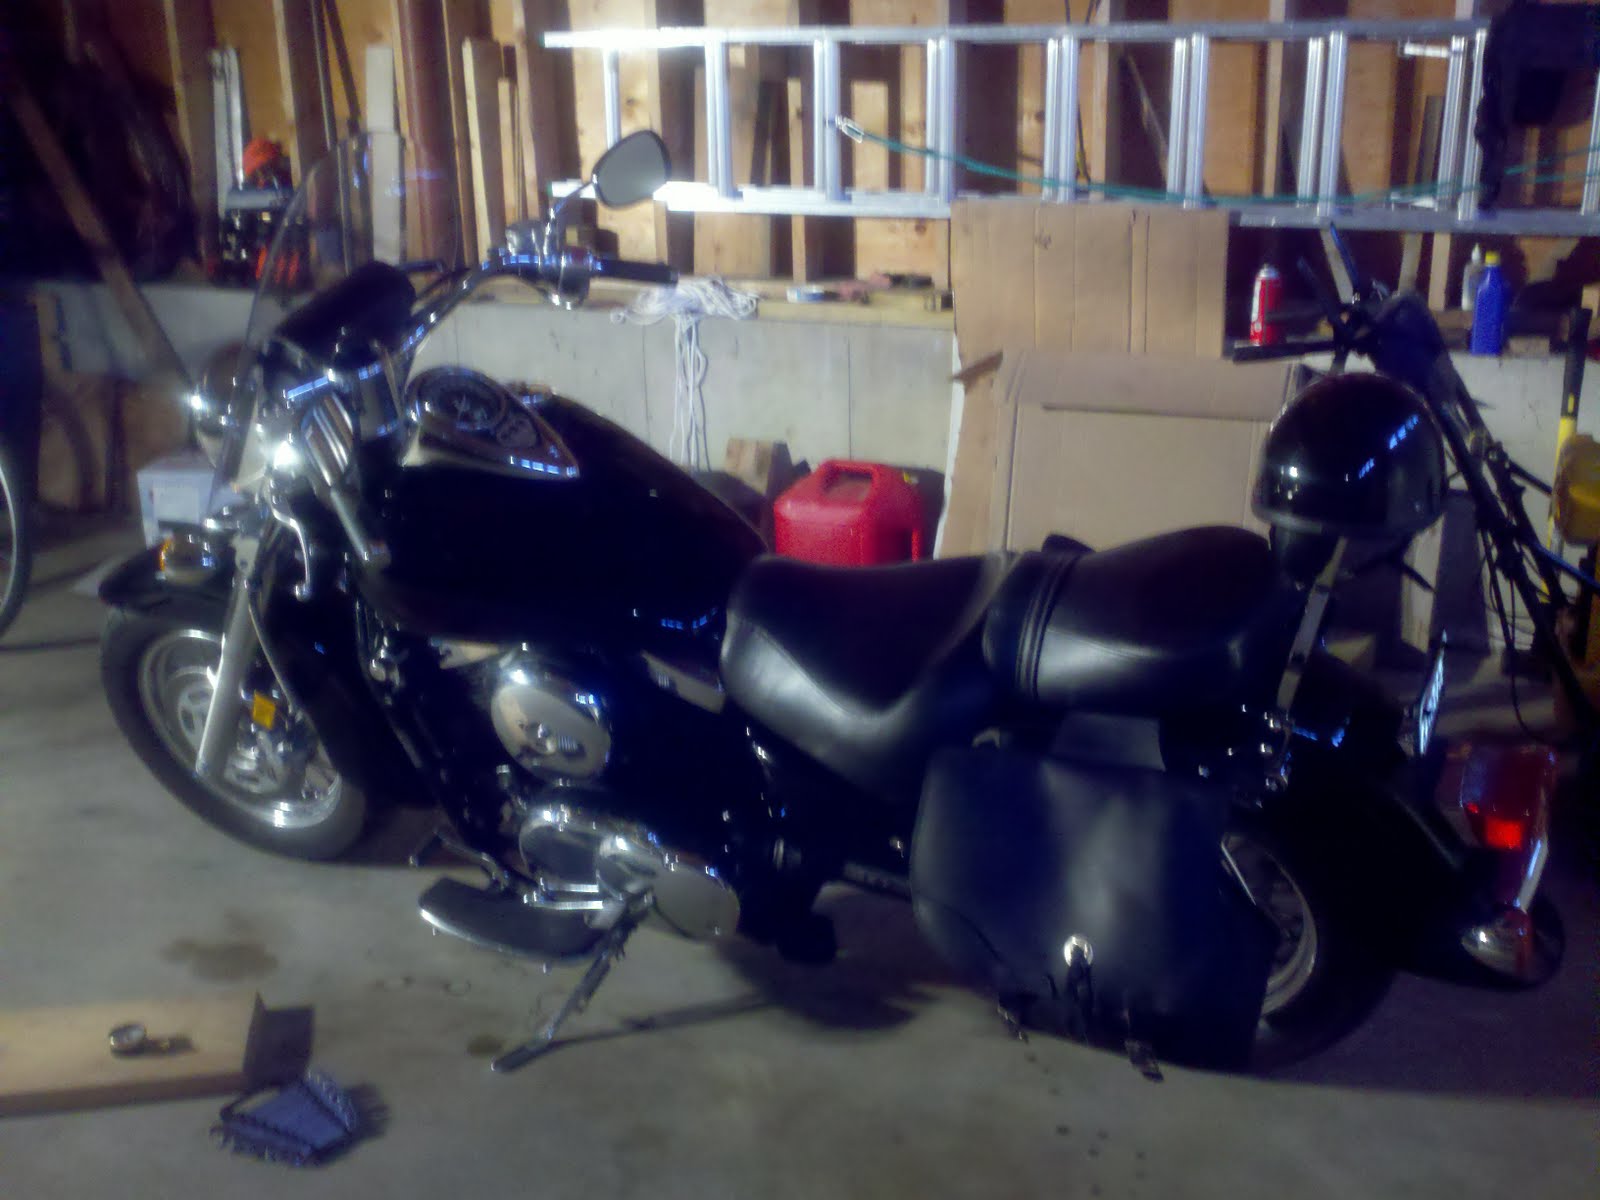
So, I am nearing the end ( I hope ) of this project.
On Day 12, I did the initial connections of the engine to the bike. This entailed doing some of the tougher connections that could be done with the engine nearly in place but not quite, so I had room to work.
First, I started connecting up the throttle body.... throttle connections, vacuum hoses, etc
and connecting up the water lines.
Then connect up the transmission.
Then attach the motor mounts.
Another hour working on the bike.
Then I start Day 13 and connecting almost everything.
The thottle ...
The lower frame.
Lower electrical connections....
The horns ...
The switch and choke ...
air cleaner backing plates
The radiator ..
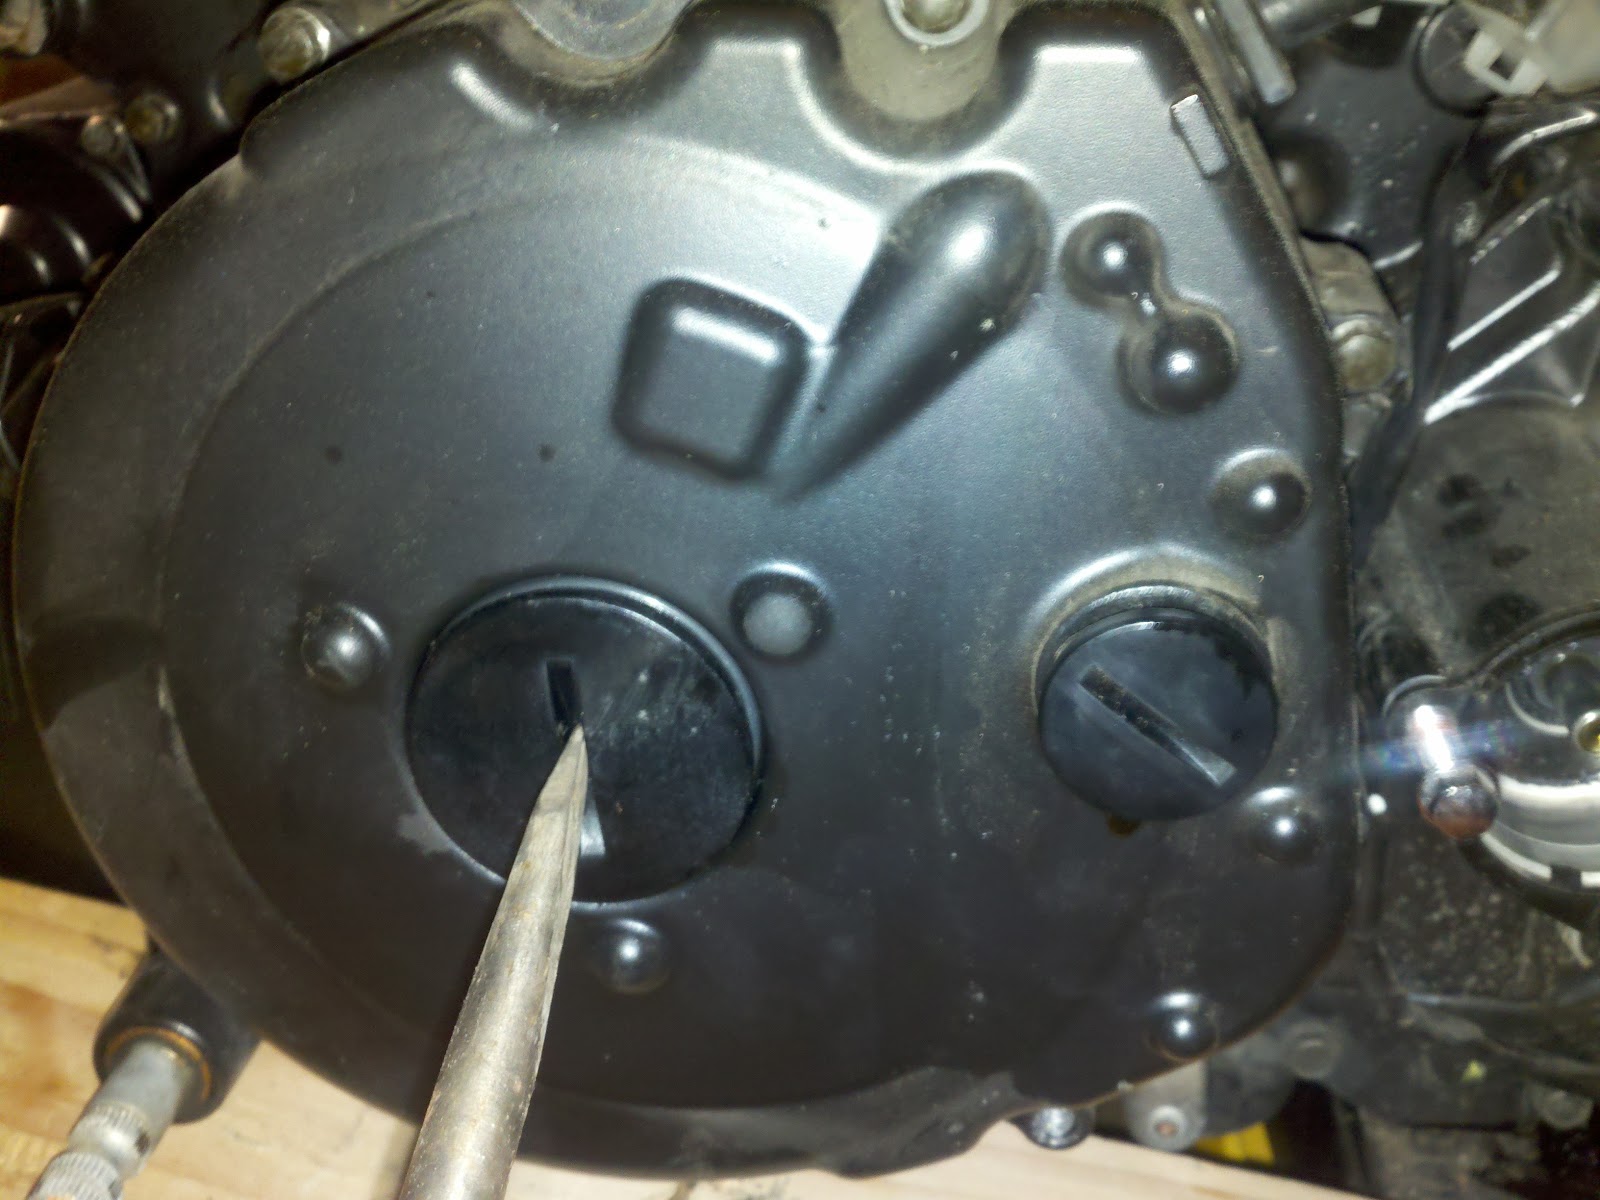
And now I am so close. I need to bleed the clutch before I can close up the left side, and I have a couple of lines for the gas tank and then I can put on the tank and put in the fluids.
And that is a 2 more hours down. At some point I will add these hours all up for the job.


